RONDO
Audio Processor
These support guides will help you handle and care for your RONDO Audio Processor.
Basic Assembly
Never use excessive force when you assemble your RONDO. If you encounter resistance during any of the assembly steps, you probably need to adjust the position of one or more parts.

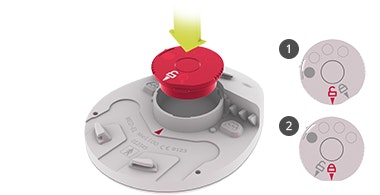
Install 1 and lock the magnet 2 into the control unit.
MED-EL strongly recommends that you don’t change the magnet yourself. Contact your clinician to have the magnet changed or if you experience any skin irritation.

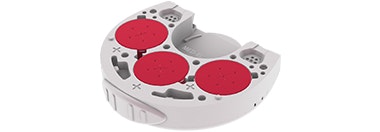
Insert the batteries with positive (+) poles facing upwards.

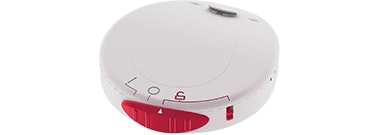
Ensure the switch is set to the unlock position. Hold down the release lever while setting the switch to the unlock position.
The switch must always be in the unlocked position prior to removing or attaching the battery pack to the control unit.

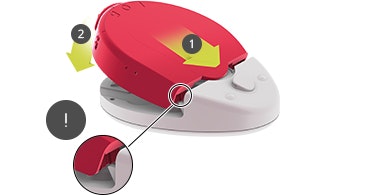
Slide the battery pack into the control unit 1 , push down 2 and slide the switch to the locked position (O).
Note the mechanism that secures the control unit to the battery pack.
Refer to your user manual for more information.

